
- Architecture
-
- Construction & Cladding
-
-
PROCORE A1
-
-
PROBOND FacadeFR
-
-
- Signage & Display
-
-
PROBOND ultra
-
PROBOND ultrafr
-
PROBOND litea1
-
PROBOND Décor
-
-
-
PROBOND smart
-
PROBOND digital
-
PROBOND classic x31
-
PROBOND classic x30
-
-
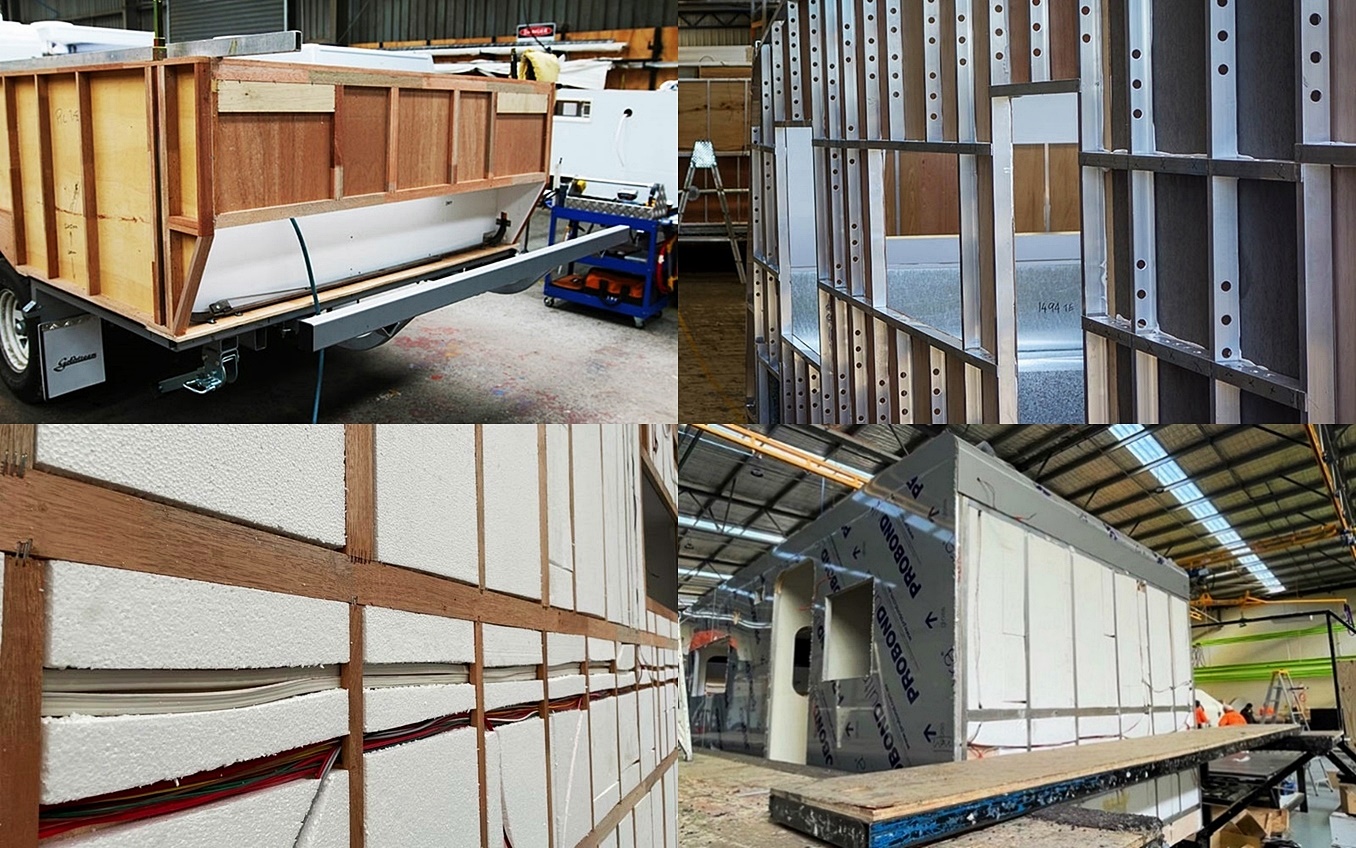
- RV & Transport
-
-
PROBOND Ultra
-
PROBOND Ultra FR
-
PROBOND Ultra Raptor Black
-
-
-
PROBOND PROPLATE
-
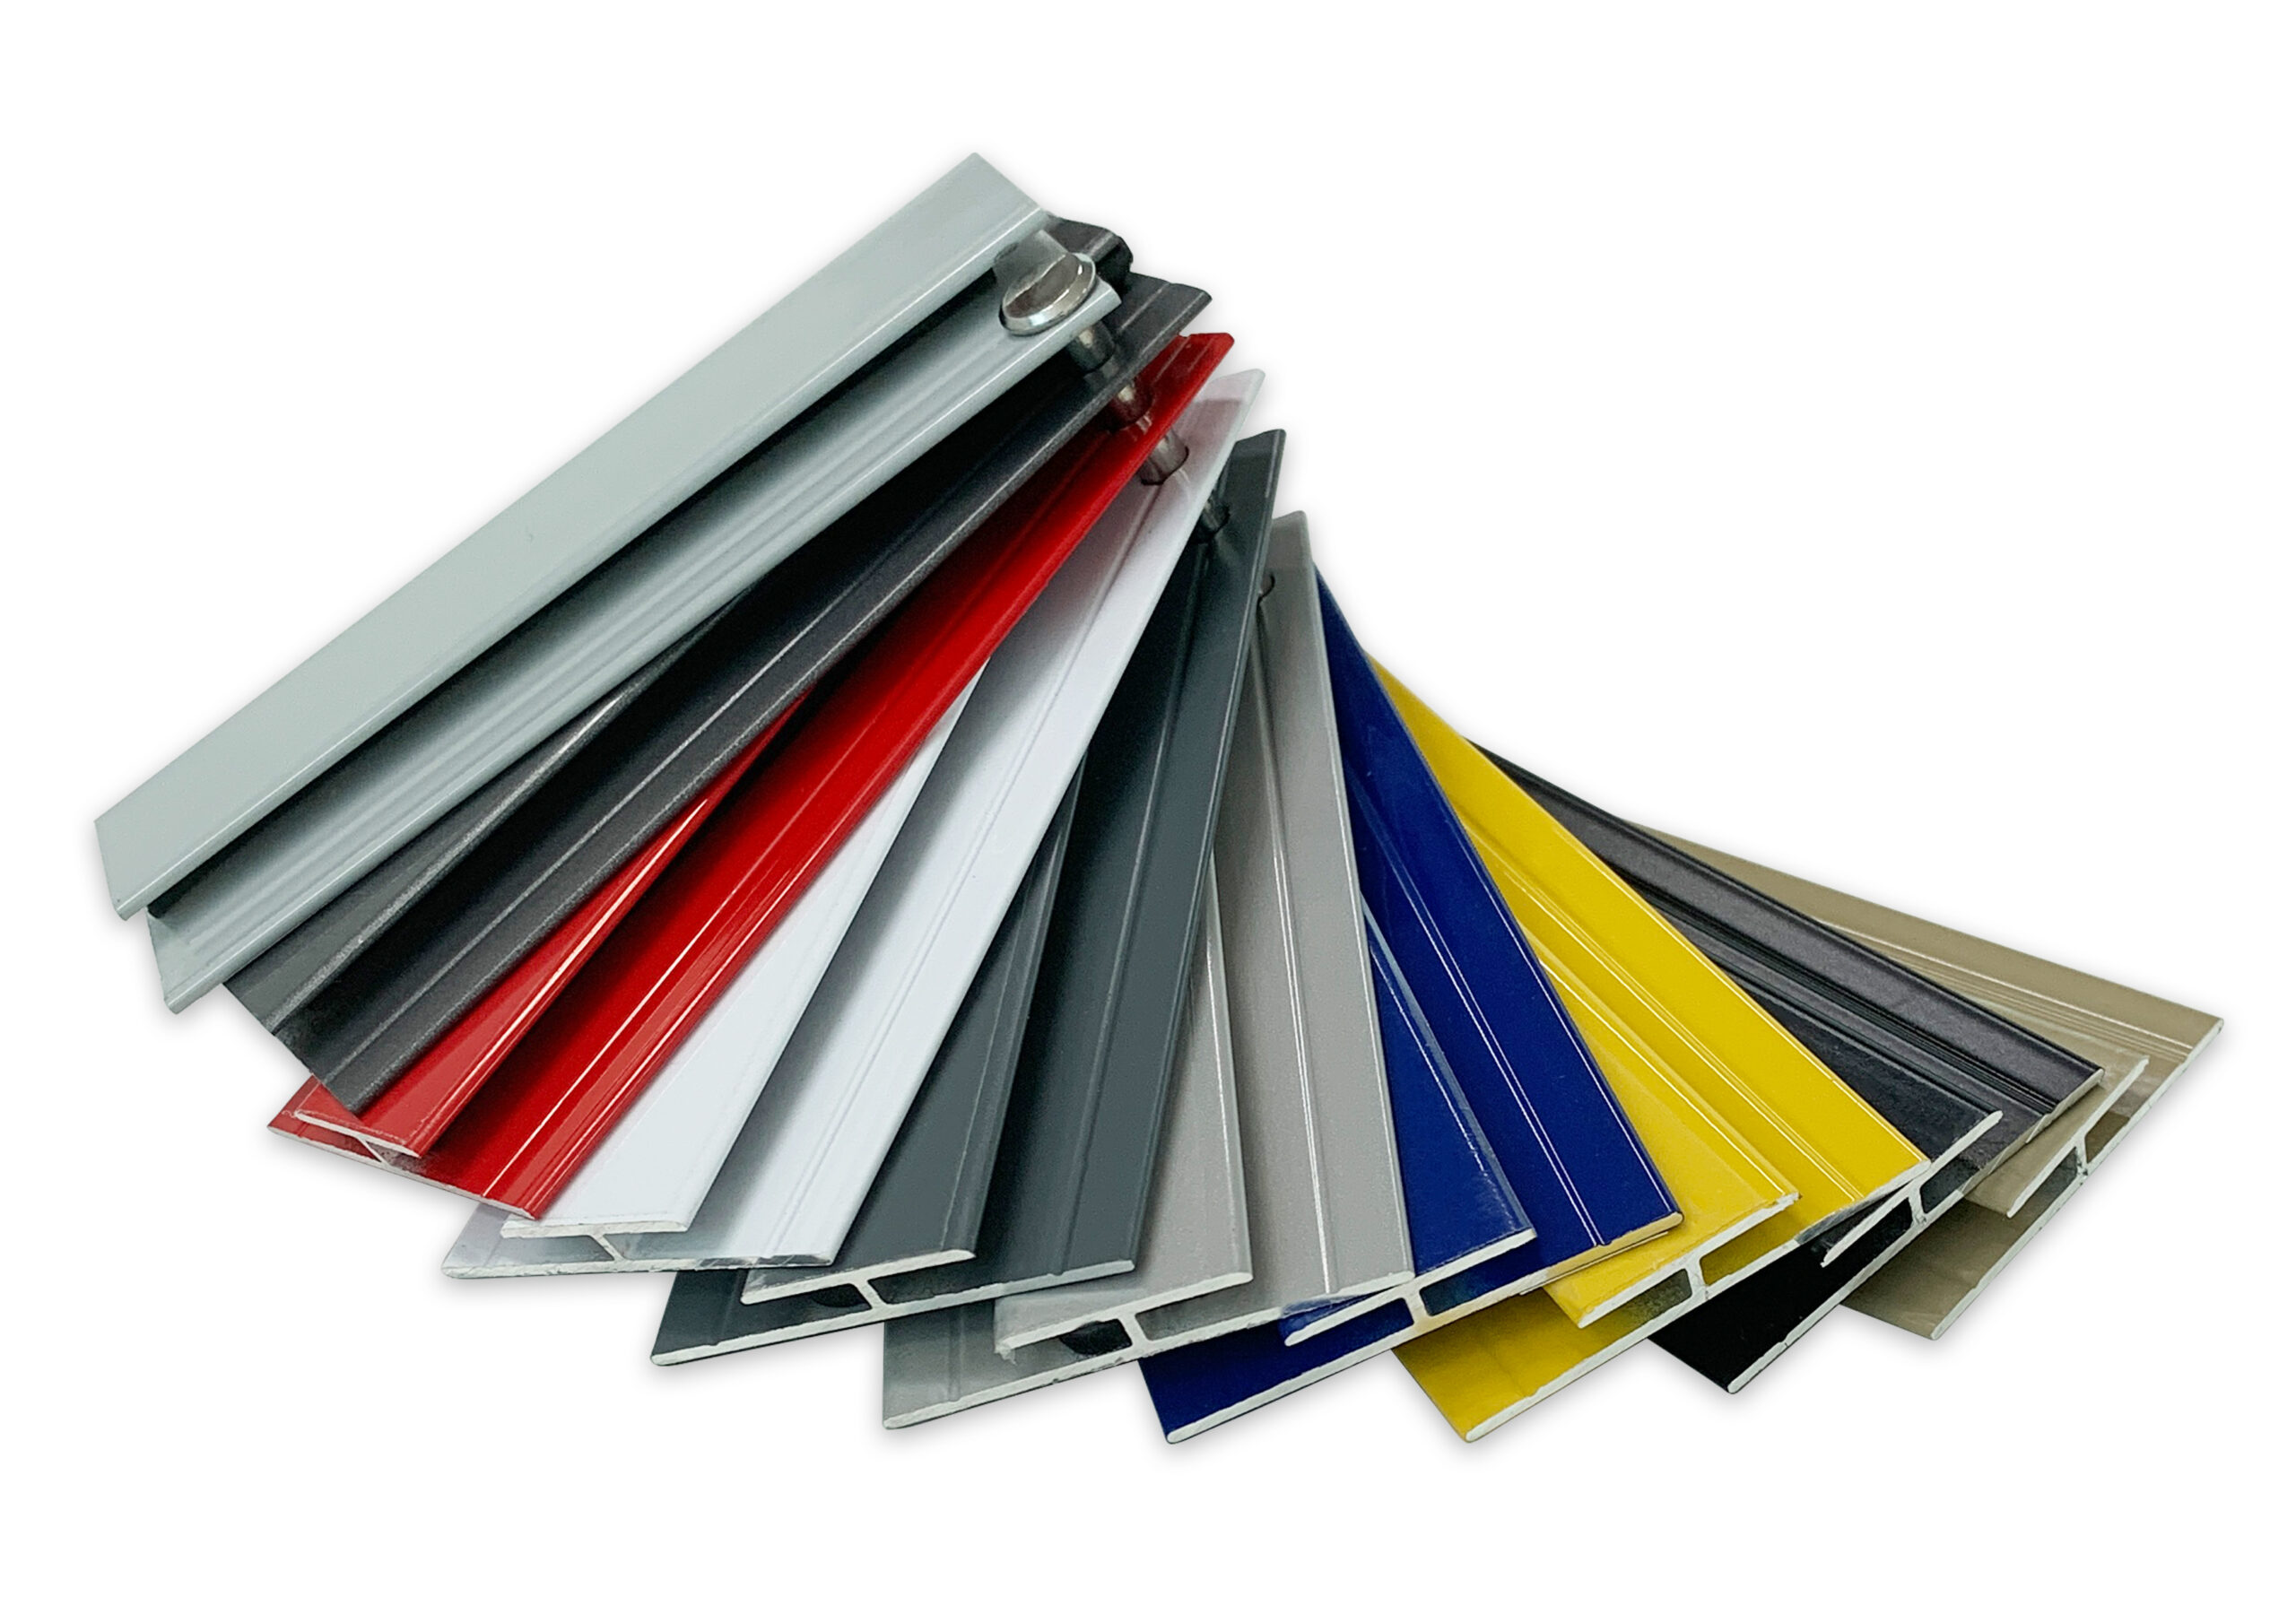
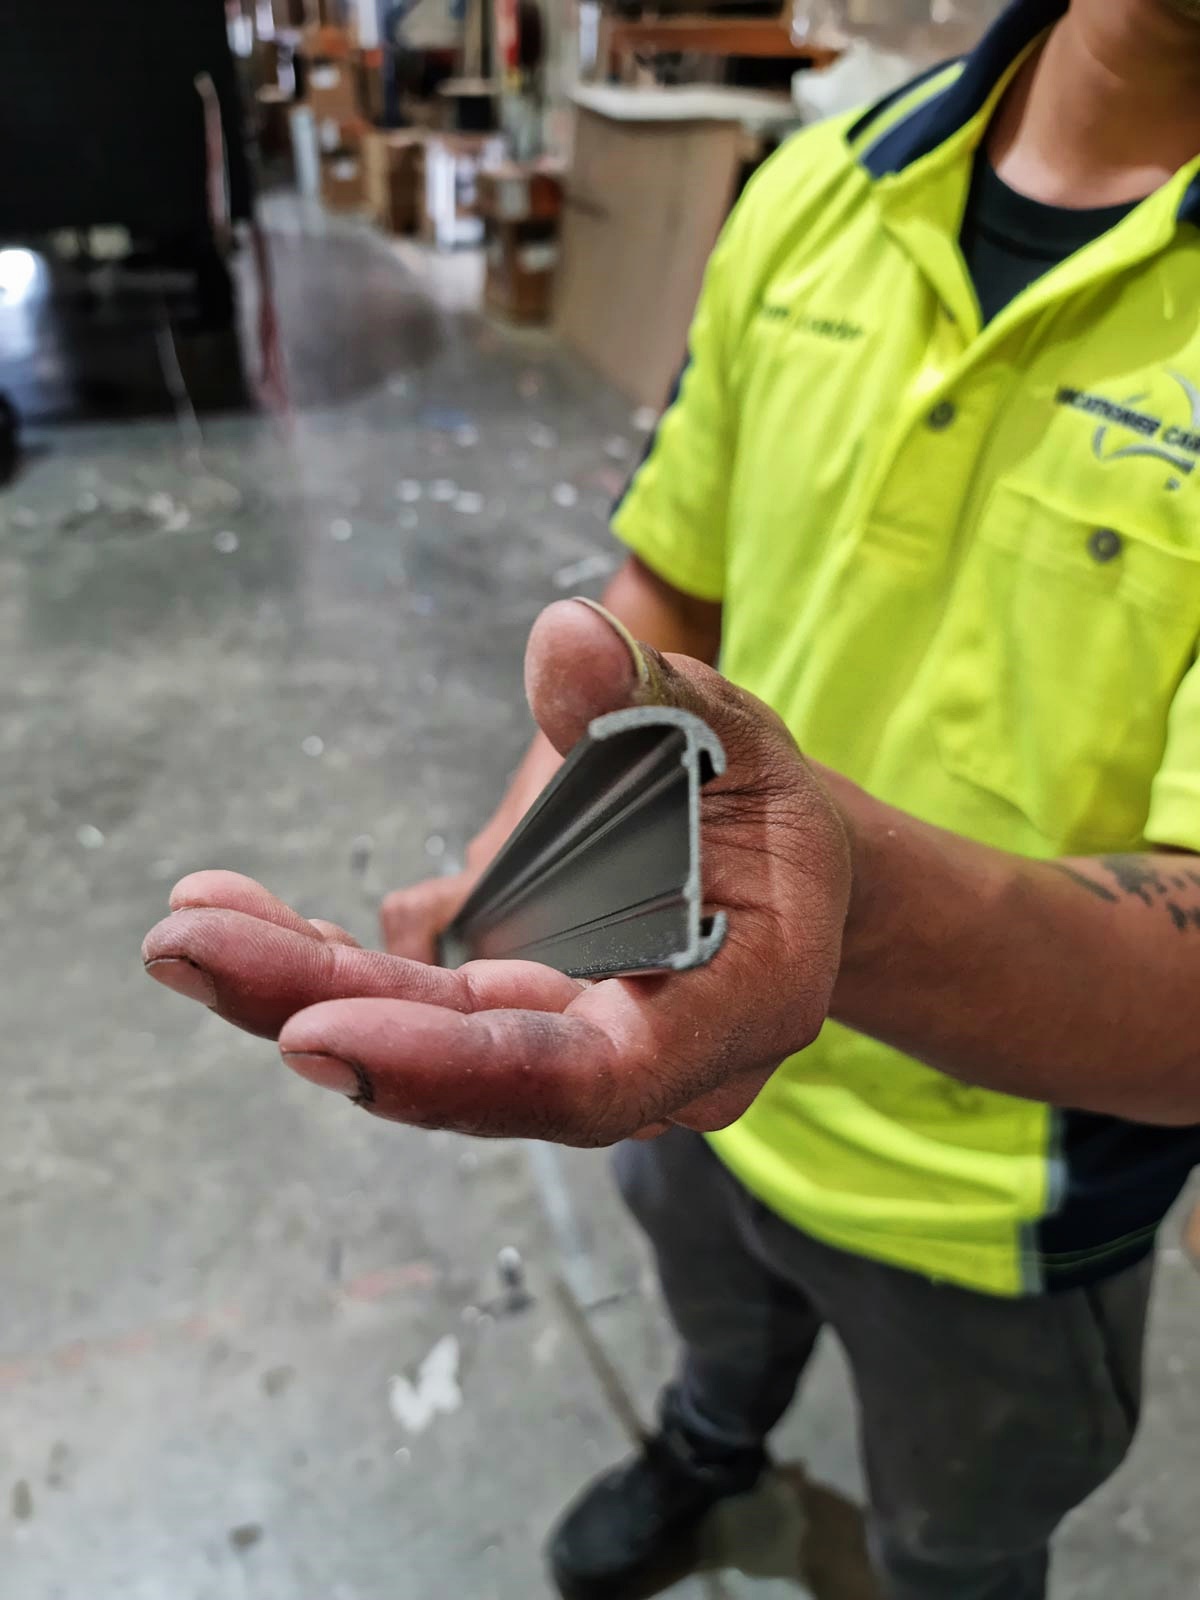
PROBOND Extrusions
-
PROBOND PROGRIP
-
-
- Marine
-
-
PROCORE A1
-
-


Maintenance and Care
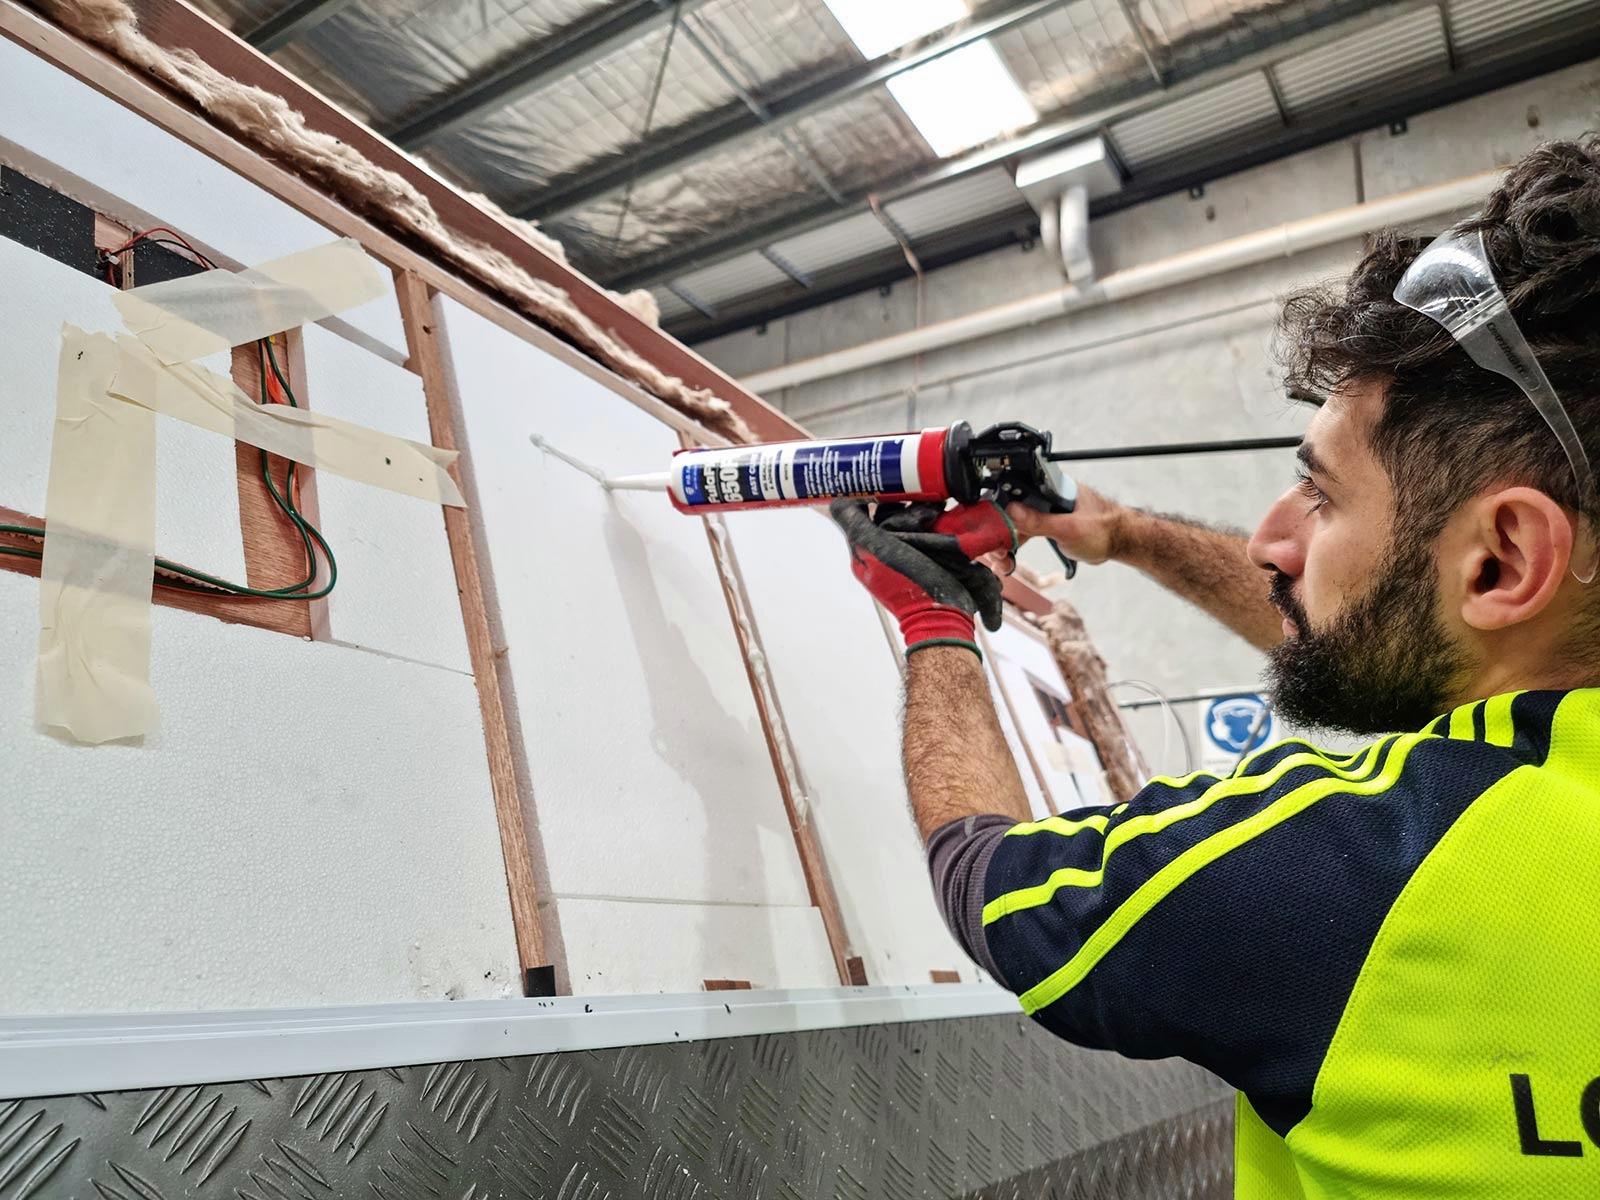
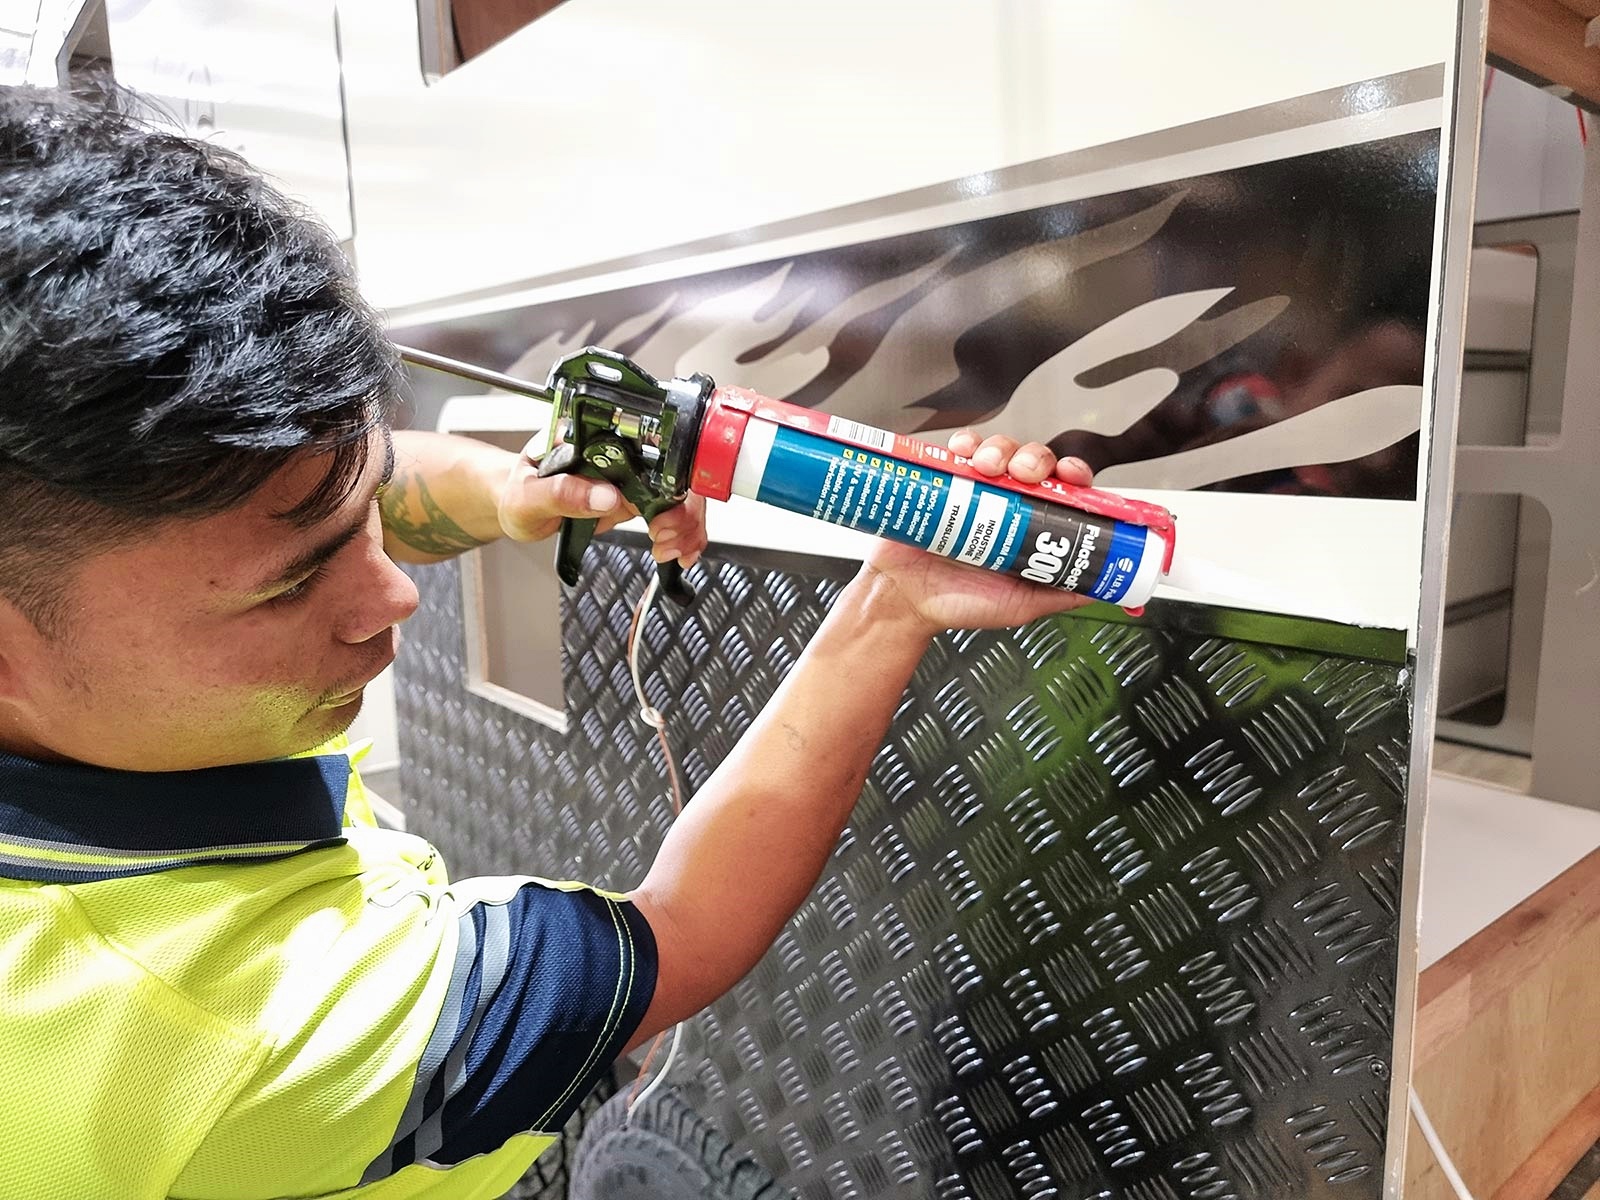
- Regularly inspect the panel and joiner system for any signs of damage or wear.
- Clean the surface as needed using mild detergent and water.
- Avoid harsh chemicals or abrasive cleaning methods, as they may damage the panels.
- Address any issues promptly to maintain the longevity and appearance of the PROBOND panels.
By following these installation instructions, you can ensure a secure and durable installation of PROBOND Aluminium Composite Panels for your trailer application. If you have any questions or concerns during the installation process, consult with a professional or contact the manufacturer for further guidance.